By HRS Food · Published · Reviewed
How to make chocolate curls without breaking them
For small curls, use a plain chocolate bar that is firm enough to hold but warm enough to shave, then draw a vegetable peeler steadily along an edge. Very cold chocolate tends to splinter; chocolate that is too soft can smear. Start over a plate and adjust gradually rather than forcing the tool. [1][2]

Choose a suitable bar and prepare the tools
Ghirardelli’s demonstrated technique uses plain chocolate bars rather than filled bars or small chips. A clean, dry peeler and a stable working surface make it easier to control a small shaving.
Work with care around the blade, keeping fingers away from its path. A bar with nuts, wafers or a soft centre introduces obstacles and is not equivalent to a solid bar for this technique.[1]
How to make small curls and shavings
Let the chocolate reach a workable condition, then draw the peeler along a flat edge using a controlled stroke. Practise over a plate before decorating the finished dessert. Shorter strokes can give shavings rather than a longer curl.
The useful feedback is the result: a ribbon, a brittle fragment or a smear. Temperature and pressure need to suit the particular bar, so do not assume one timing works in every kitchen.[1]

Troubleshoot the result
If the chocolate breaks into dry-looking fragments, let it become a little more workable before trying again. If it smears, let it firm up. Make small adjustments rather than heating the whole bar aggressively.
For bigger curls, makers use a different method involving a thin spread layer of melted chocolate and a scraper. That is a separate technique, not simply pressing harder with a peeler. Ready-made chocolate shavings are another format altogether.[1][2]
How to keep the decoration useful
Transfer delicate curls with a suitable utensil rather than repeatedly warming them in your fingers. Make the amount you need and follow storage guidance for both the chocolate and the decorated dessert.
A curl placed on cream or another perishable food becomes part of that finished dessert. The original bar’s cupboard-storage instructions do not establish how long the dessert can stay out. Keep ingredient information available when serving.[3][1]
The key differences at a glance
Explore the comparison
Choose a term to read its explanation. The full comparison is in the table below.
Chocolate may be too cold or the stroke unsuitable
| Result | What to reconsider |
|---|---|
| Brittle fragments | Chocolate may be too cold or the stroke unsuitable |
| Soft smear | Chocolate may be too soft |
| Small curls | A bar-and-peeler method |
| Large curls | A separate thin-layer-and-scraper technique |
Related examples at HRS Food
These plain milk-chocolate formats provide a starting point for small curls or shavings when they suit your recipe. Choose by the chocolate type and working texture, then practise on a small section.
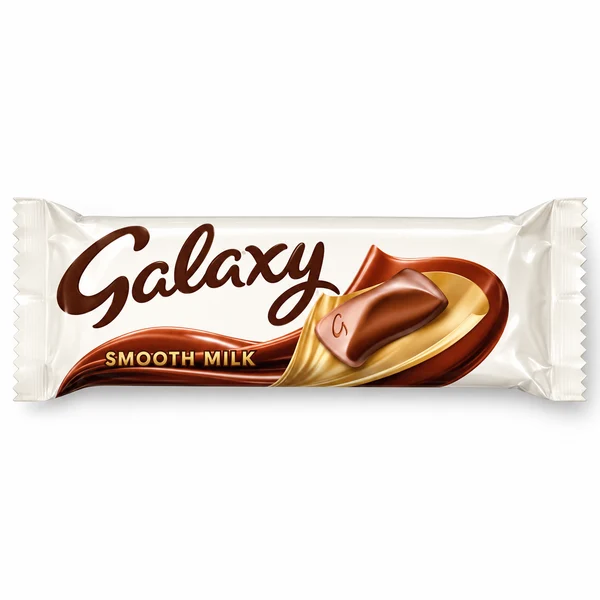
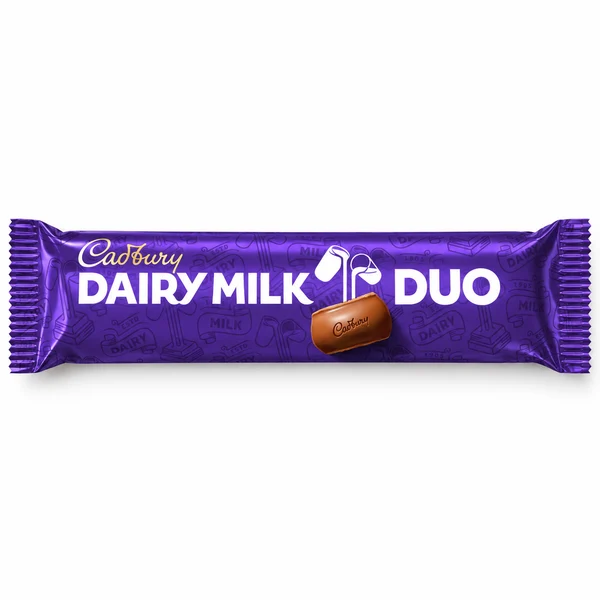
Quantities and ingredients belong to the exact listing and selected option. Check the current product page and physical pack for allergens, dietary information and storage.
Common questions
Can I use a filled chocolate bar?
A plain solid bar is more suitable for the demonstrated small-curl method.
Are curls and shavings different?
They can differ in stroke length, thickness and form; short strokes can make smaller shavings.
Should I press harder when it crumbles?
Make gradual texture and technique adjustments rather than forcing a sharp tool.
Sources and editorial notes
Written and illustrated by HRS Food. Research reviewed on , using the references below and live HRS product listings. Recipe examples, study findings and legal label definitions are identified in context. These explanatory illustrations do not establish a brand’s private recipe. Where a rule or recipe can change, check the linked authority and current pack.